Introduction
This guide will teach you about everything you need to know to get the best time in SotS Any%.
The route was made when False Son counted as a stage, so if you are playing on current patch, then you would skip False Son.
Set-up
Go to this link and download the file, then put it into "Program Files (x86) > Steam > userdata > (user-id) > 632360 > remote > UserProfiles". Open Risk of Rain 2, open the profile and change your controls/settings to match your preference, then close the game. Now that you have your files configured, set the file to "read-only" in the file properties.
Now that you have the profile set-up. You can use the "user_profile_copy(sotsprofile,<new name>)" to make copies of the profile. You will have to change profiles after each run to start with the focused convergence, so this is one way swap profiles. You can use the "user_profile_save(<new name>)" to save it for future runs.
Artifacts
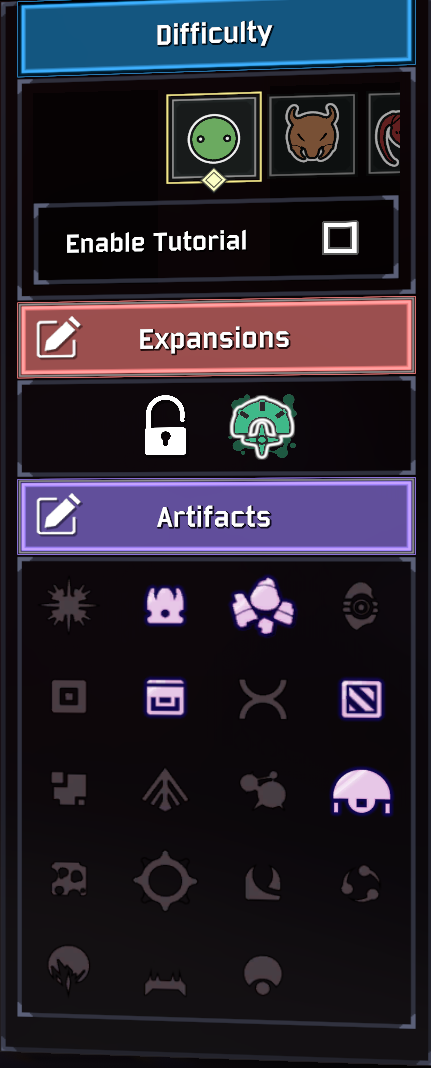
The four main artifacts are Glass, Rebirth, Command, and Enigma. Although, Delusion and Chaos can be helpful in some scenarios so it's up to you if you use them. This is what I use:
Items
Typically, this is what your items should look like:

However, I will go more in depth for certain scenarios where you may not have 4 purities in the next section.
Routing
There is a lot to go over, so lets just go by stage order.
Stage 1-
The first thing you want to check for once you load into a run is to see if there is a Halcyon Shrine. Thankfully, this is easy due to this message popping up in chat: "You hear thunder rumbling." This will only appear if you open the chat manually, using enter or your chat key.
Your main priority should be filling this shrine to the first stage and then spawning the Halcyonite. You need about 80 gold to complete the first stage and here are some general things to look for to fill the shrine to the first stage.
- Teleporter Boss & 2 Barrels.
- A Combat Shrine.
- Blood Shrines can work but you only get around 20 gold if you use it before you level up.
Note: You must interact with the Halcyon Shrine before hitting Teleporter. If Teleporter is active, you can interact with the Halcyon Shrine as its entering the first stage. So, make sure you activate the shrine before you activate teleporter.
A lunar pod or two is of course very good, but you don't need to get one on the first stage to get a good time. You have two chance to get the 2 focused convergences that you will need for Stage 2.
Make sure you exit through the green portal from killing the Halcyonite, and you should typically leave around the 1 minute mark.
Stage 2-
There are two routes that you can take on this stage.
Shop Route-
You should take this route almost 99% of the time. The only time I feel you should go for this route intentionally is when you already have 3 focused convergences, and have good enough looting to get backup mags as a replacement for the lost purities.
To do this route, locate 1 of the 2 good newt alters
Altar 1:

Altar 2:
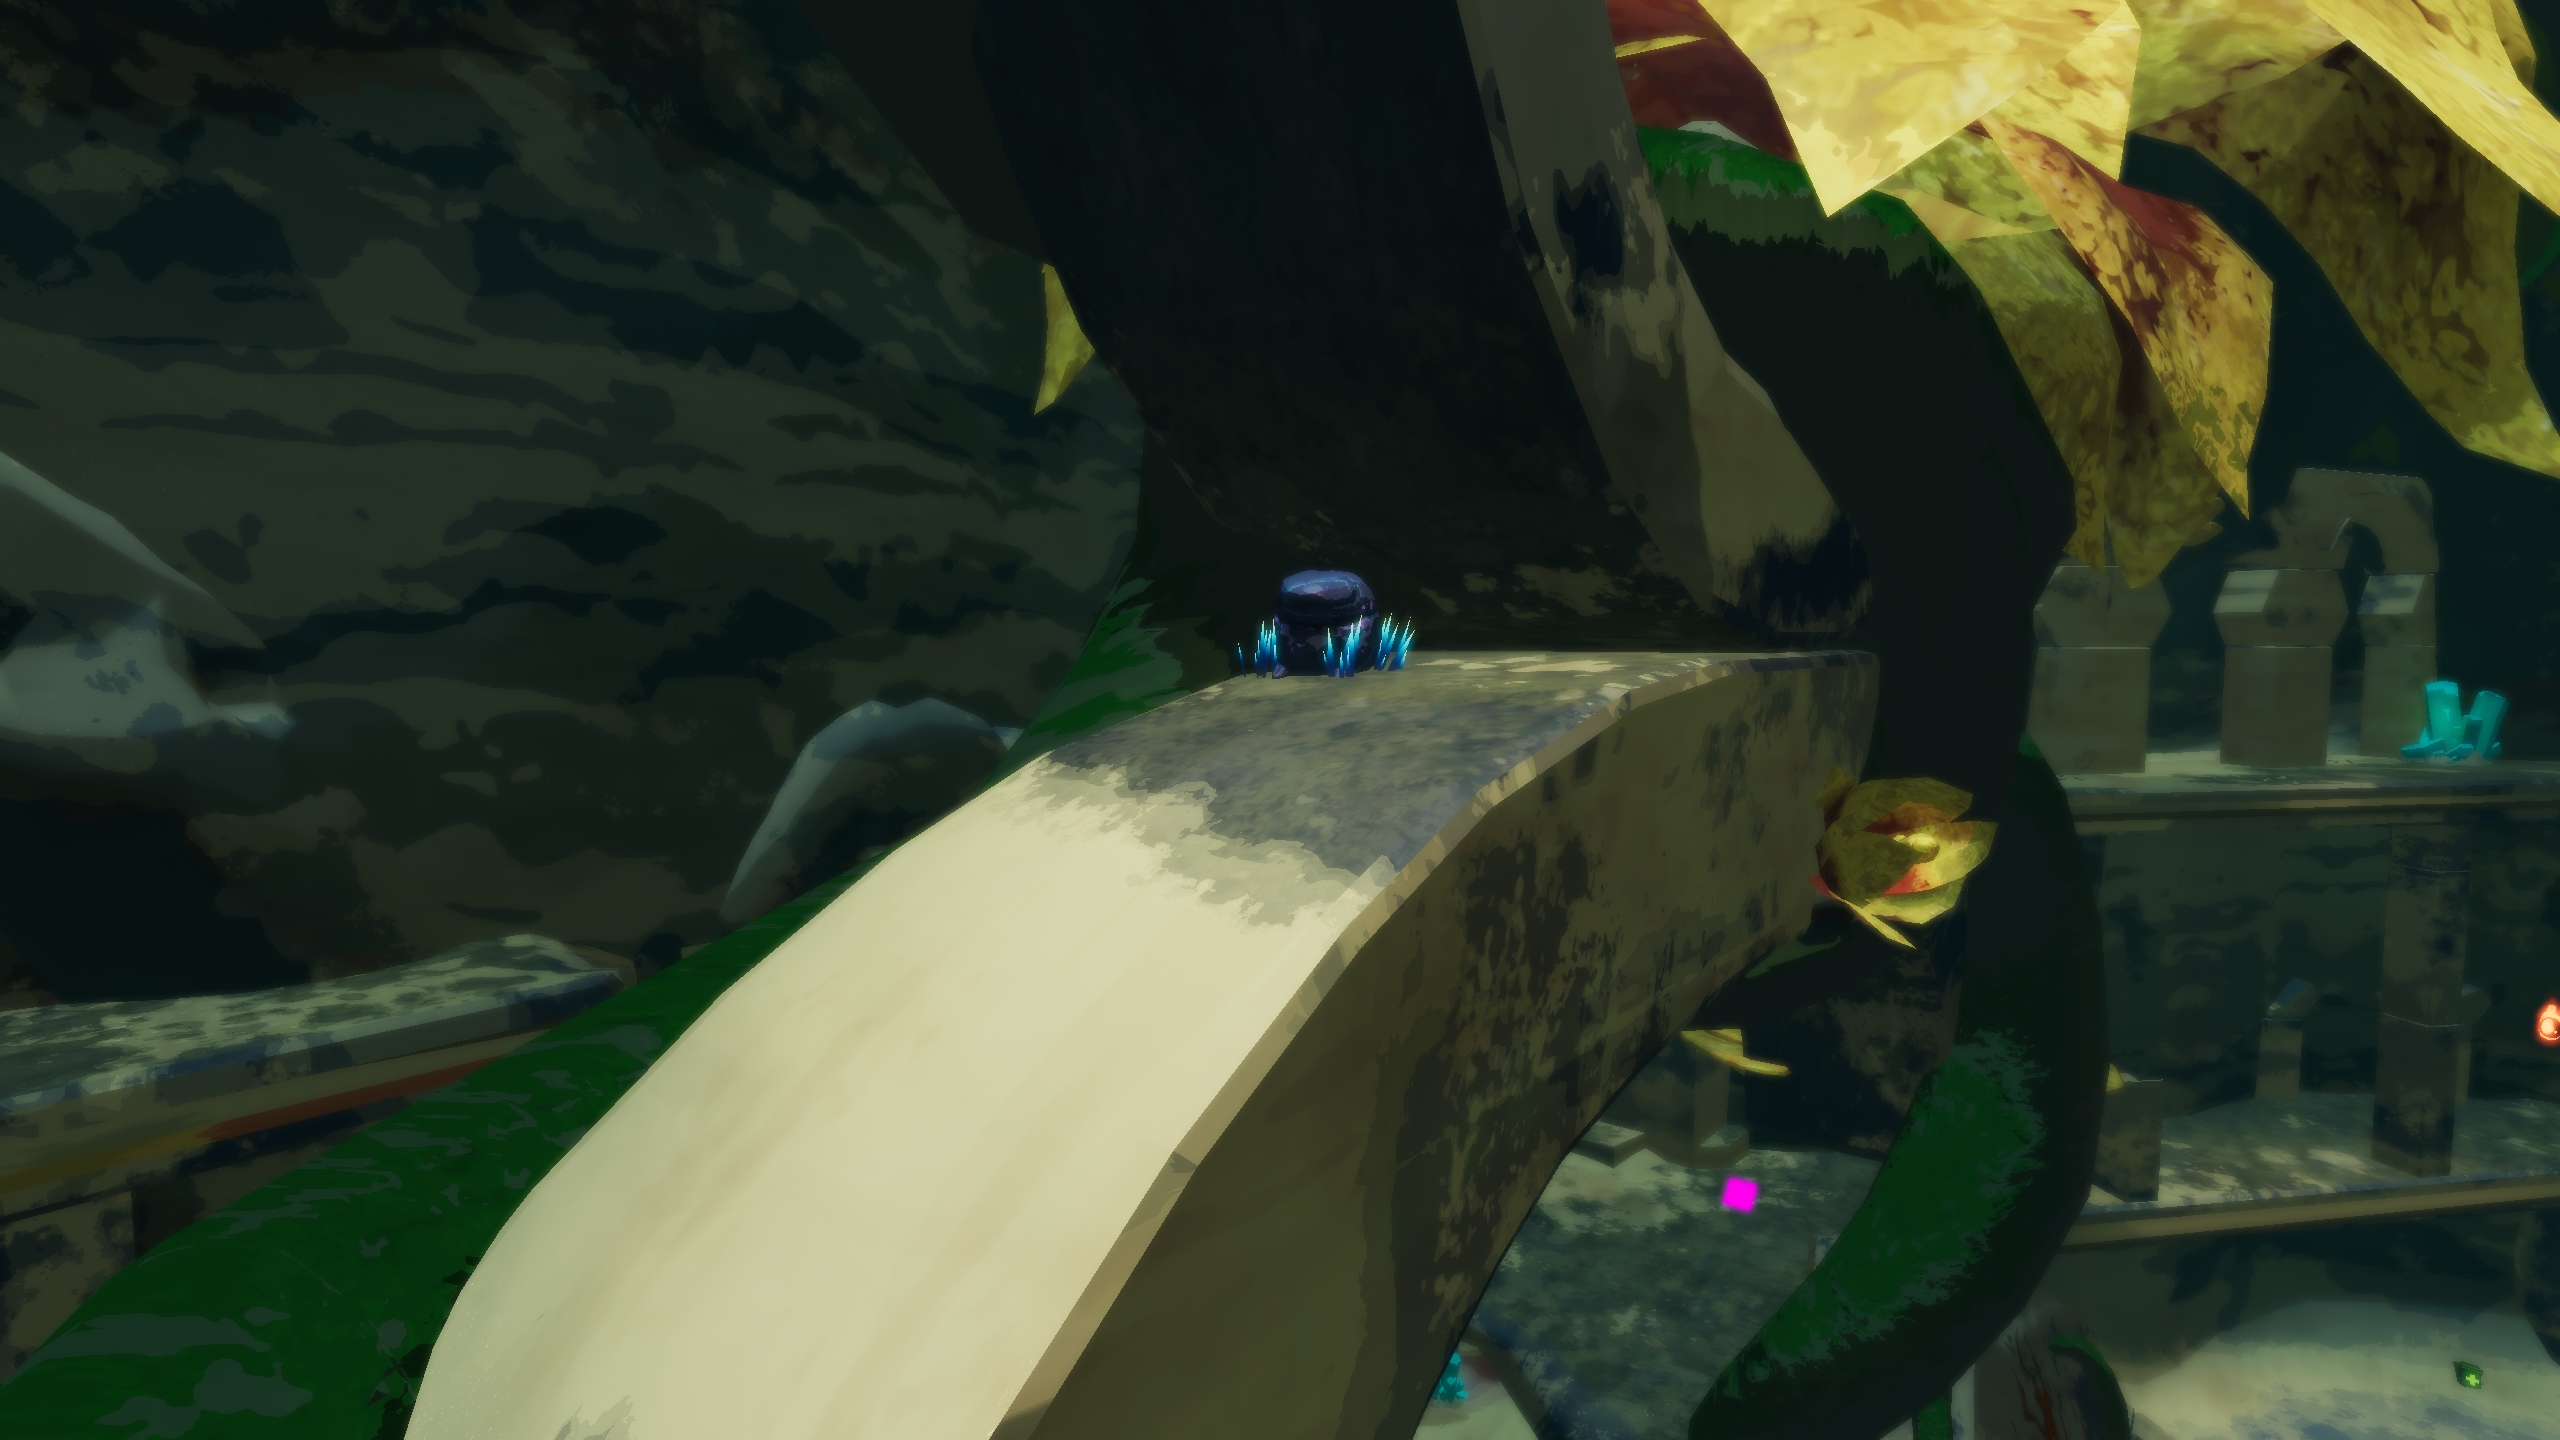
These altars are the best altars, but there is a chance that a blue orb spawns naturally which would save a little time because you won't have to get these. If you don't get these altars or a natural orb, there are 2 backup spots for newt altars.
Altar 3:
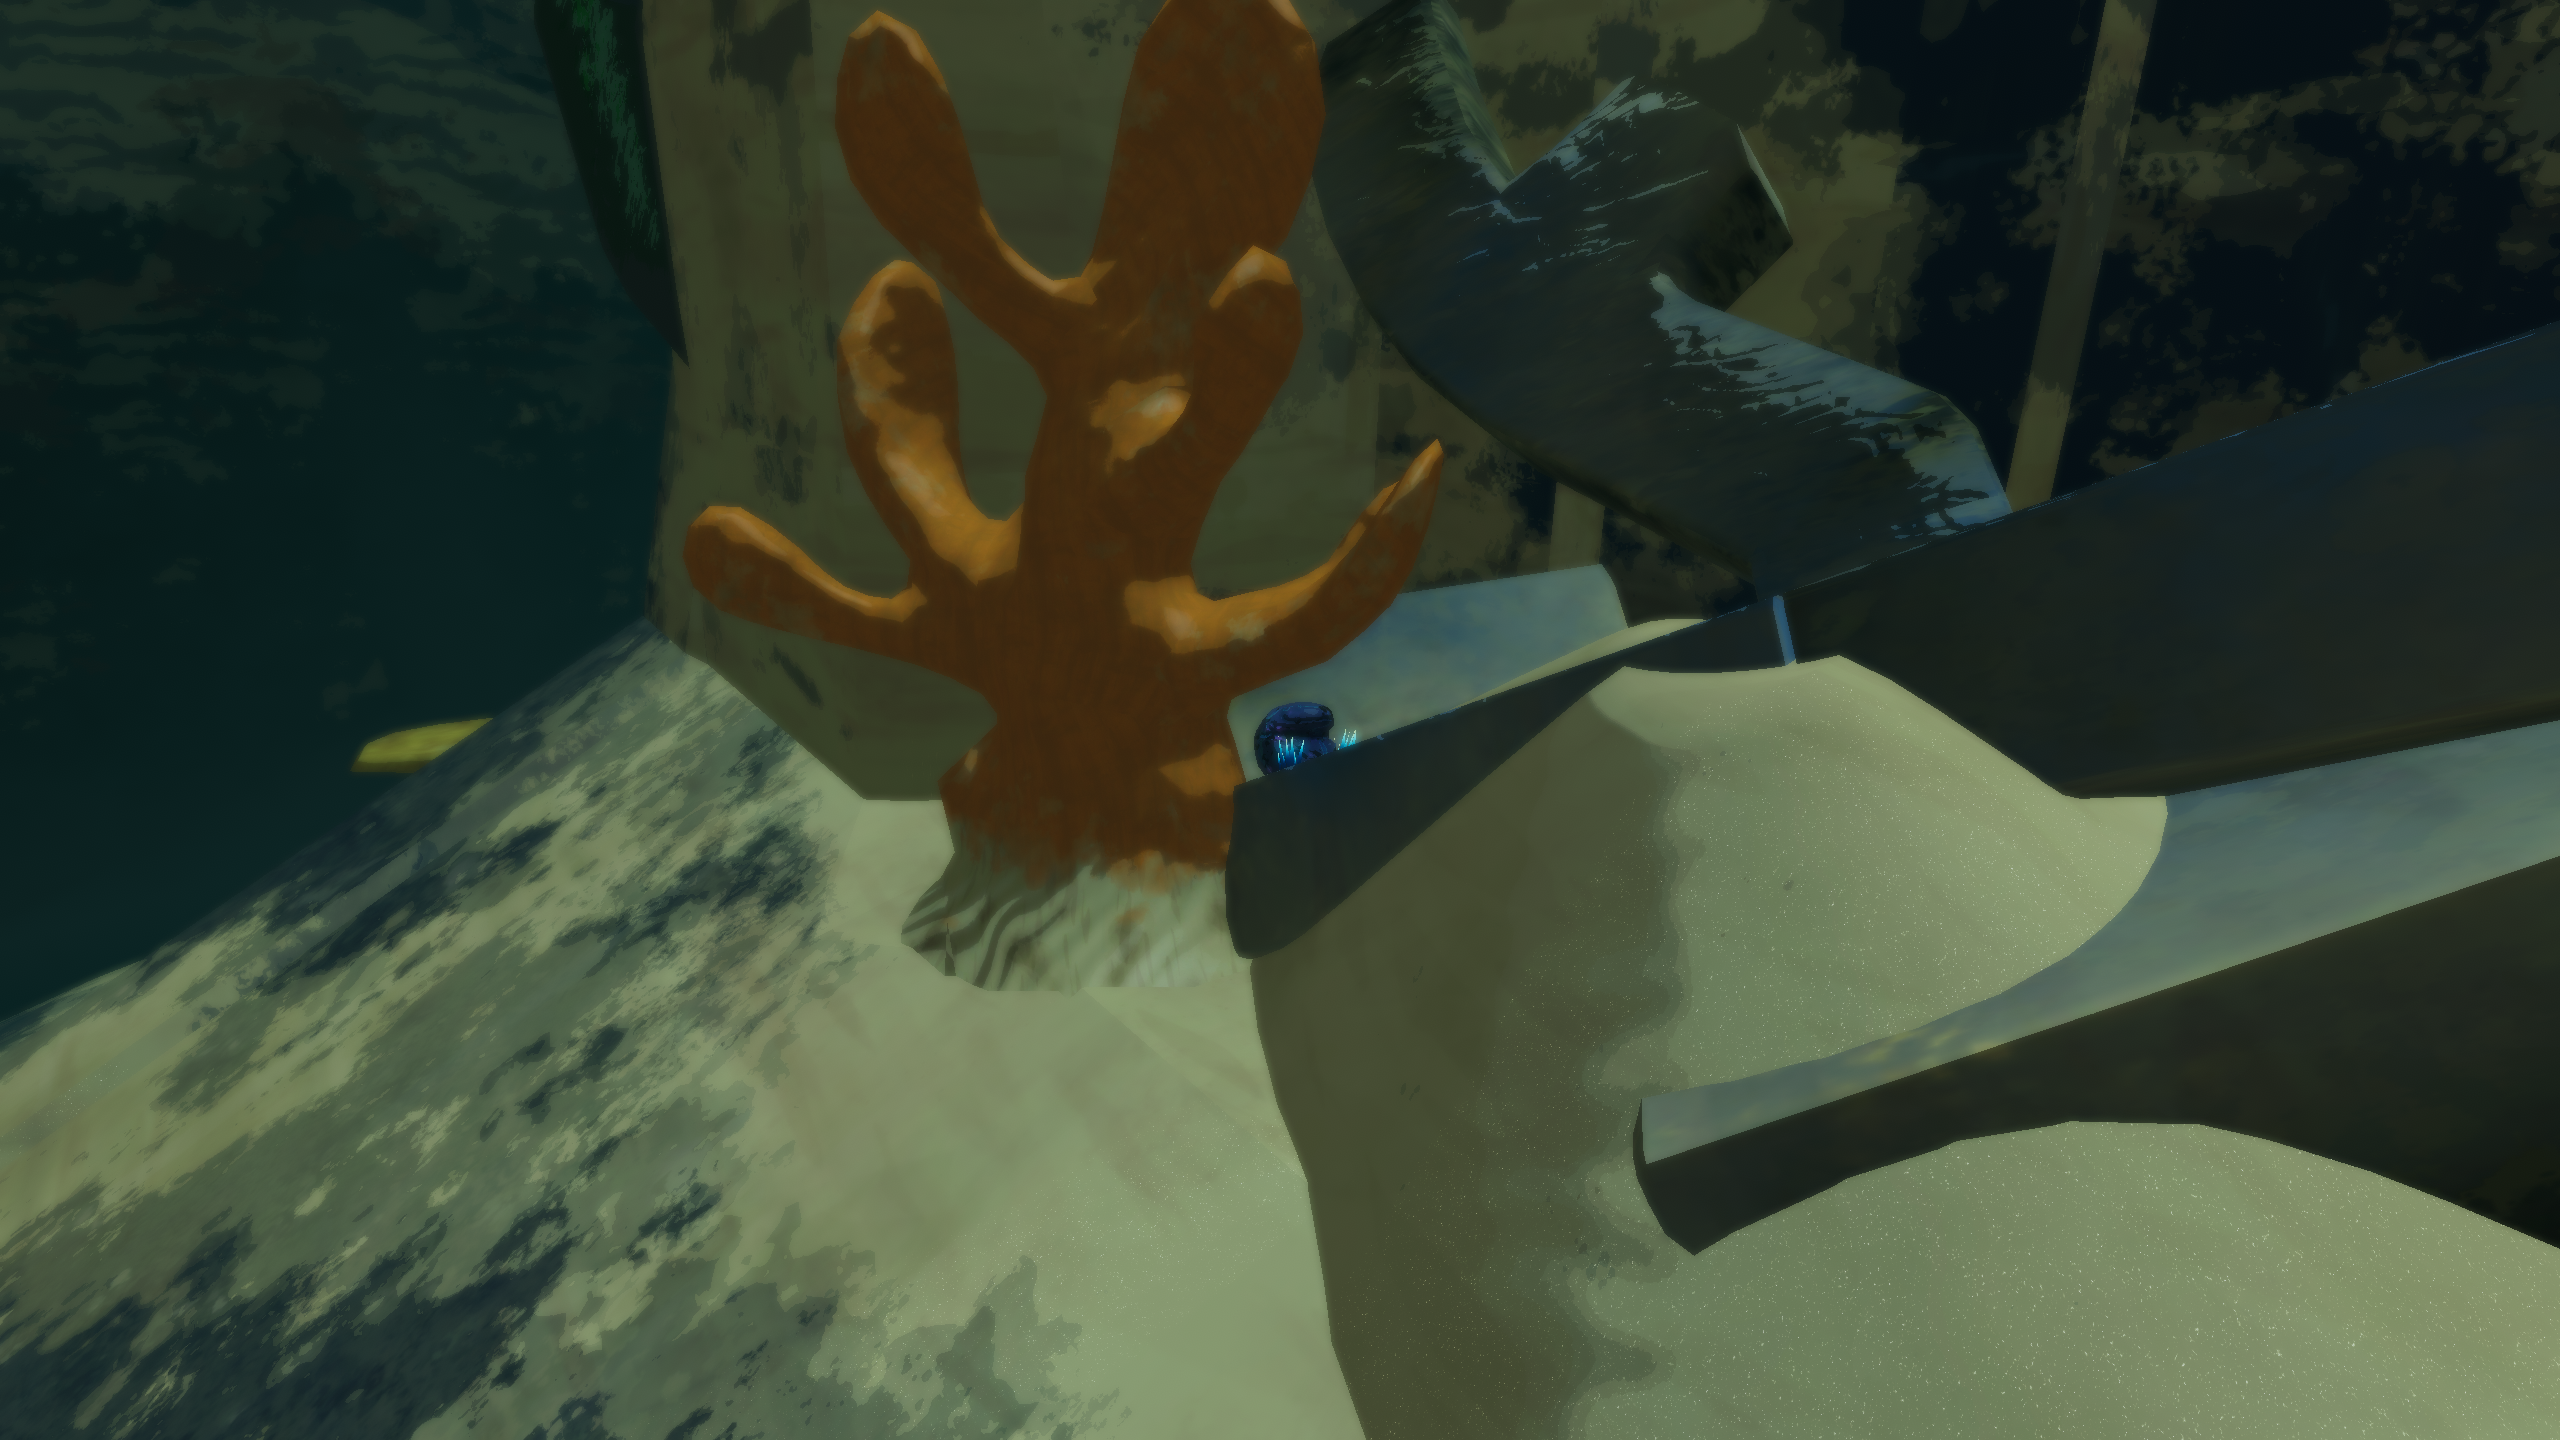
If the first 2 altars didn't spawn, this is where the newt altar will be.
Altar 4:

This altar is always guaranteed no matter if one of the previous altars have spawned.
I don't particularly recommend going for the last 2 altars, due to it being time consuming to get to, but if the teleporter is close to one, and you didn't spawn near the better 2 newt altars, then it might be better to go for these back ups.
Bazaar:
Once you enter Bazaar make sure you get lunar items and not lunar equipment. Otherwise, you won't be able to get the items you need.
If you have 1 focused convergence, get 2 focus convergences and 3 purities:

If you have 2 focused convergences going to the Bazaar, get 1 focus convergences and 4 purities:

If you are going into the Bazaar with 3 focus convergences, get 4 purities and 1 longstanding solitude:

Now that you have gotten your items, quickly hit blue portal, re-enter the main area, and interact with this portal specifically:

This will take you to Treeborn Colony and you need to go there to fight False Son. This portal is NOT GUARANTEED, so if it's not in the Bazaar, you should reset.
Shopless Route-
Like listed above, only take this route if you have 3 focused convergences and enough backup mags/purities to feel comfortable enough to bubble bounce later.
This is done by simply going to the teleporter immediately and skipping the newt altars. You MUST hit the green portal once you finish teleporter, or else you won't go to Treeborn Colony. This route is GUARANTEED for Treeborn.
In theory, if you are skilled and lucky enough, this is the better route to complete more runs. This route also saves around 20-25 seconds due to you not having to go to Bazaar, but it's your choice on which route you take.
Stage 3 (Treeborn Colony)-
This should always be Treeborn Colony, and your goal for this stage is to make sure you have a Consumed Seed of Life or an Eccentric Vase. This will be used to reach False Son arena as fast as possible.
If you don't have a pillar skip for the next stage, try to get fuel cells for a Volcanic Egg that will be used later.
Stage 4 (False Son)-
This stage is very simple once you learn how to get to and fight False Son.
If you have Seed of Life or Eccentric Vase, aim here:

If you don't have Seed of Life or Eccentric Vase, follow this route:

False Son-
False Son fight is pretty simple, although just be careful for the i-frames that he has at the very start of the fight. Learn to avoid the i-frames and the fight should be pretty self-explanatory.
Stage 5 (Helminth Hatchery-
For Stage 5, all you need to do is look out for equipment barrels to get a Volcanic Egg if you don't have one yet and make sure you do the teleporter as quickly as possible. You will always get Helminth Hatchery after defeating the False Son, so practice this route and learn where the teleporter can spawn.
Moon-
Make sure you know how to do the bubble bounce up to Mithrix. Here is an example video if you do not know how to do it or want to see how I do it:
After you kill Mithrix, you need to use that Volcanic Egg from earlier to clip outside of the arena and make it to the ship. Here is an example showing how to clip out the arena:
Summary
If you have any questions about the route, feel free to ask questions in the Risk of Rain Speedrunning Discord Server. Alternatively, feel free to ask Wig, Cap, GoGeng, zinq, confused, ICap_l and me. We are always willing to help and would love to see more people running this category. This patch might be faster than 1.0, but only if new people are determined to run this category. I will add changes to this guide when new discoveries or routes develop. Anyways, I hope to see you beat my sub 8 time and goodluck with your runs!
Seeing as most everyone was for this change, the Gauntlet category will now accept runs performed on an unmodded version of the game. Using the mods is still allowed, with the Fogbound Lagoon stage now being optional - allowed, but not required.
Vanilla runs still submit their IGT from the results
